Mary Hinsen, BPSA
May 2023 - Heidi

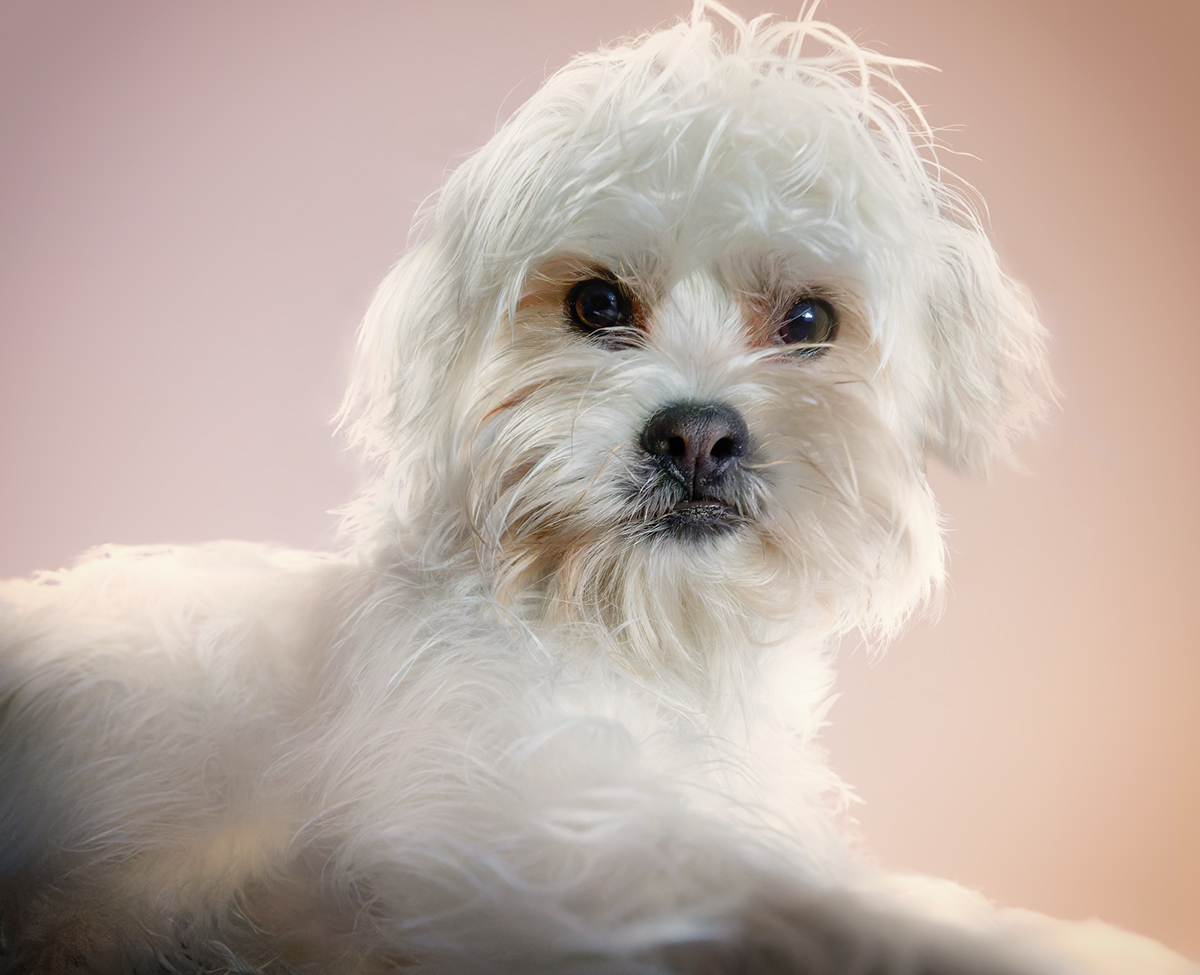
Original
About the Image(s)
Do you ever have one of those days where your brain seemed to take a holiday, and you get to the end of something and think 'What an idiot! Whatever was I thinking?' ... I had one of those days :)
I have a 14mm ultra-wide lens and thought I'd experiment with it for close-up shots, wanting to try a different perspective. I set up, selected f/5.6 for shallow depth of field, and started with our puppy as my model. Well, I got in very close to her, was only three shots into my experiment and she licked the lens. Not the best choice of model.
Undeterred, I cleaned the lens, but she had decided a modeling career was not for her.
I uploaded my three images and much to my surprise I had somehow set the shutter speed to 1/1250sec instead of 1/250sec. Not sure how I did that! This caused the Auto ISO to go to 12800. No images, and a puppy that didn't want to model. I decided to use one of the images anyway and practice hair selection.
I created a black background layer, as the image was dark. I used the refine hair tool in Photoshop, refine the edge, then output the selection to a layer mask. On checking the mask, some of the hair edges were still transparent, so I changed the brush blend mode to overlay to target just those areas. This brought back a lot more of her hair.
I played with backgrounds and used a gradient until I got something I liked, however, the lighter background then showed areas of hair that still had taken up the darkness from the original background. To get the hair edges to take up some of the lighter colour, I changed the layer blend mode to screen. I made another copy of the layer and the edge intensity was just right. I copied the layer again, grouped that one on its own, and masked the group. Using the brush with normal blend mode, I painted the edges.
My problem then was that by increasing the highlight intensity to get the edge hair right, I had created burnt-out highlights. A white dog is not the best to do this with! I stamped up and opened that layer as a new file. I cropped in and opened in Colour Efex to give a slight dispersion (thinking that might help) and add a colour filter and a vignette.
The end result as you see it? Definitely not something to hang on the wall, but a great learning experience. I persevered because there may be times I make mistakes in the future but won't get a second chance at the shot. I'm interested to know what you would do.