James Troeger
September 2023 - The Granddog
Original
About the Image(s)
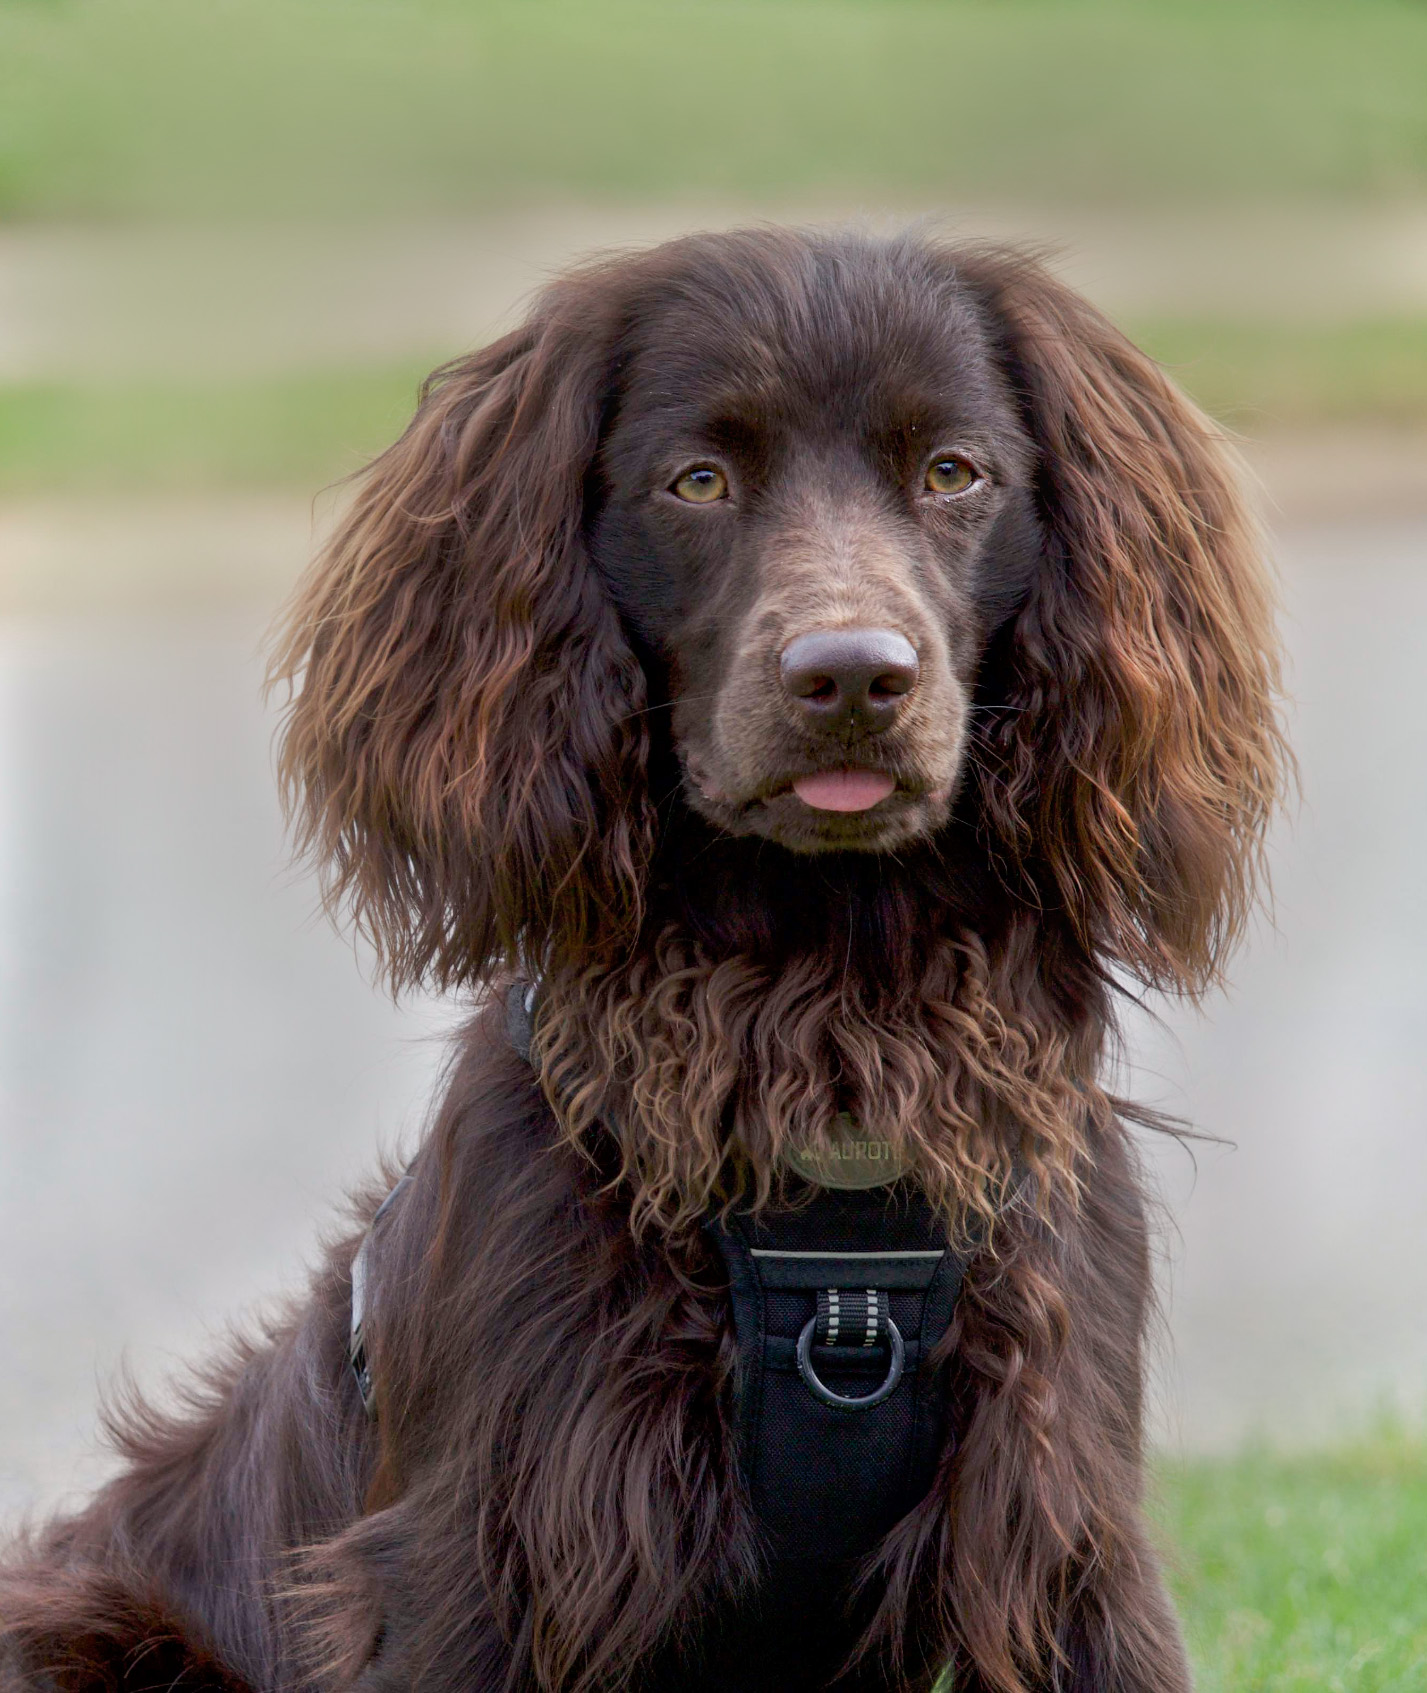
This was captured on a Canon 60D DSLR, using a Canon EF-S 55-250 f/4-5.6 IS STM lens.
Shutter priority was used, with applicable exif data being ISO 250, f/4.625, 1/400 sec, 152mm focal length
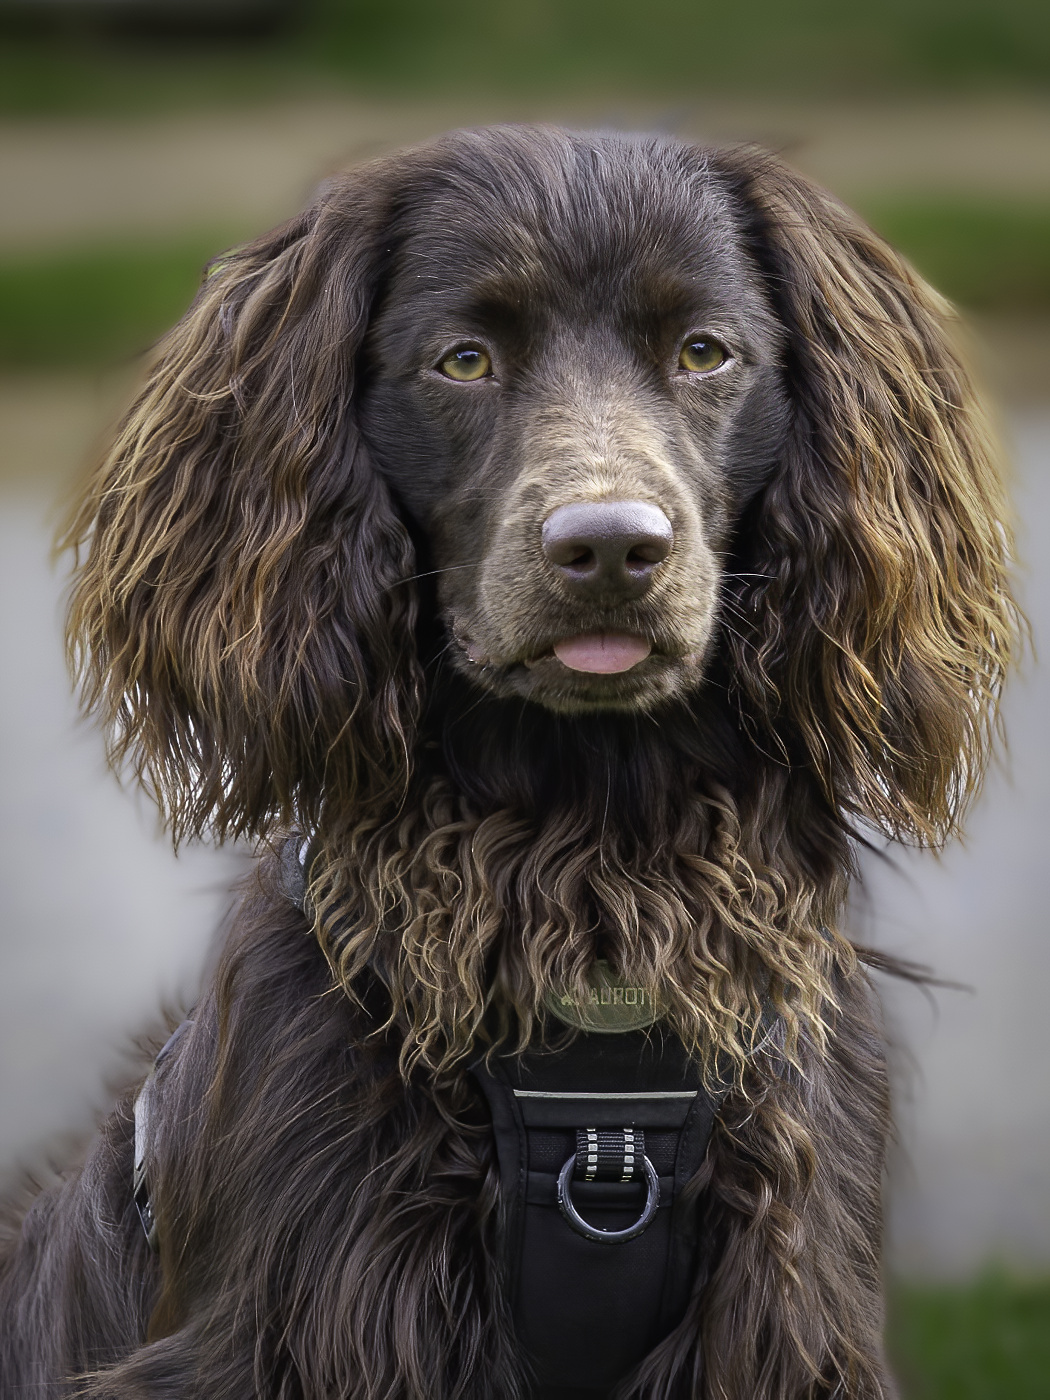
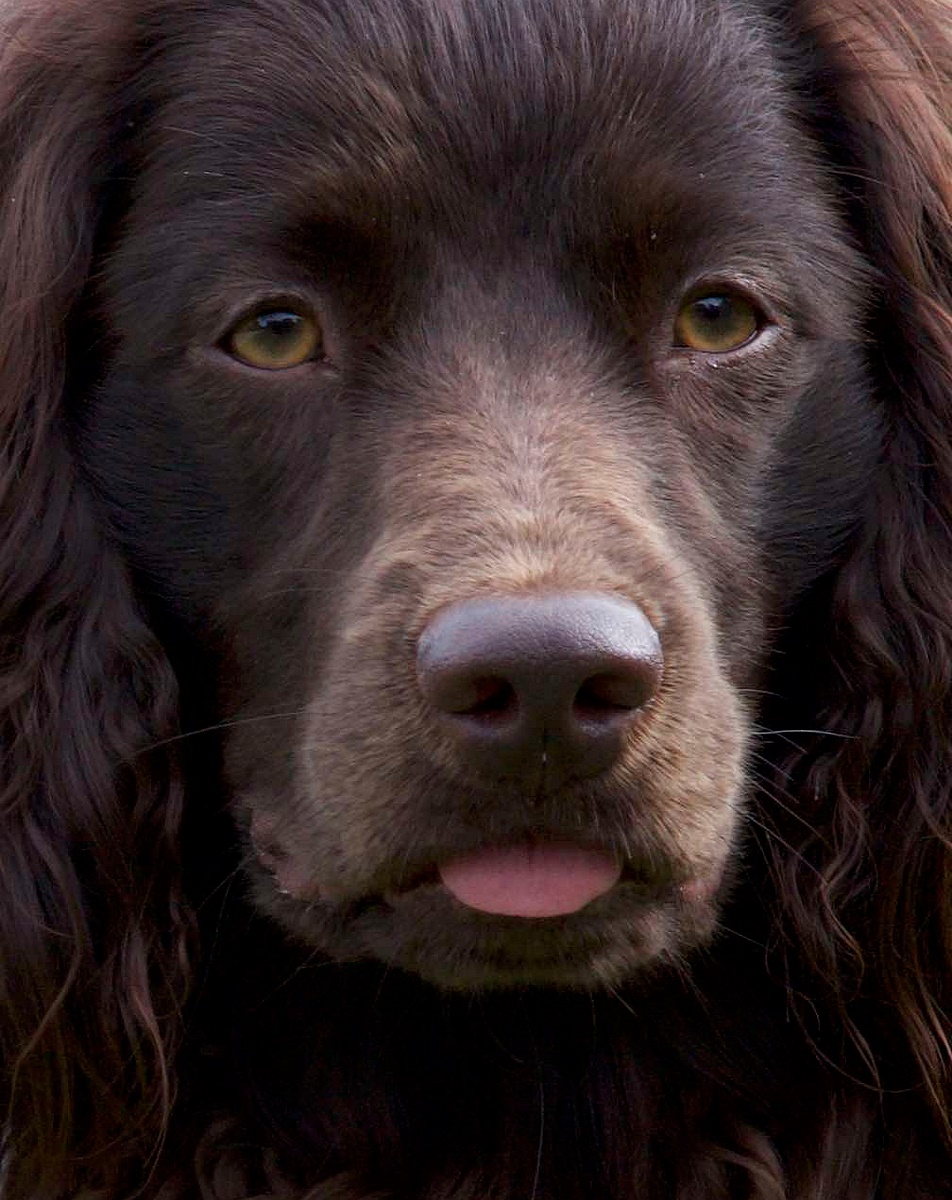
For a title, I call this one ââ¬Å“The Granddogâ⬠as this is my daughter and son-in-law’s Boykin Spaniel. Aside from the obvious cropping, plenty of black, white, highlight, and shadow adjustments were made, the background was selectively further blurred (though it did catch some of his whips fur and blur it as well), then exposure and contrast adjustments, selective sharpening of the muzzle, etc.
Aside from possibly less blurring of the background and/or using PS instead of LR for inverted subject selection to see if the fringy hairs are better selected, how might others finish this one?
This round’s discussion is now closed!
14 comments posted
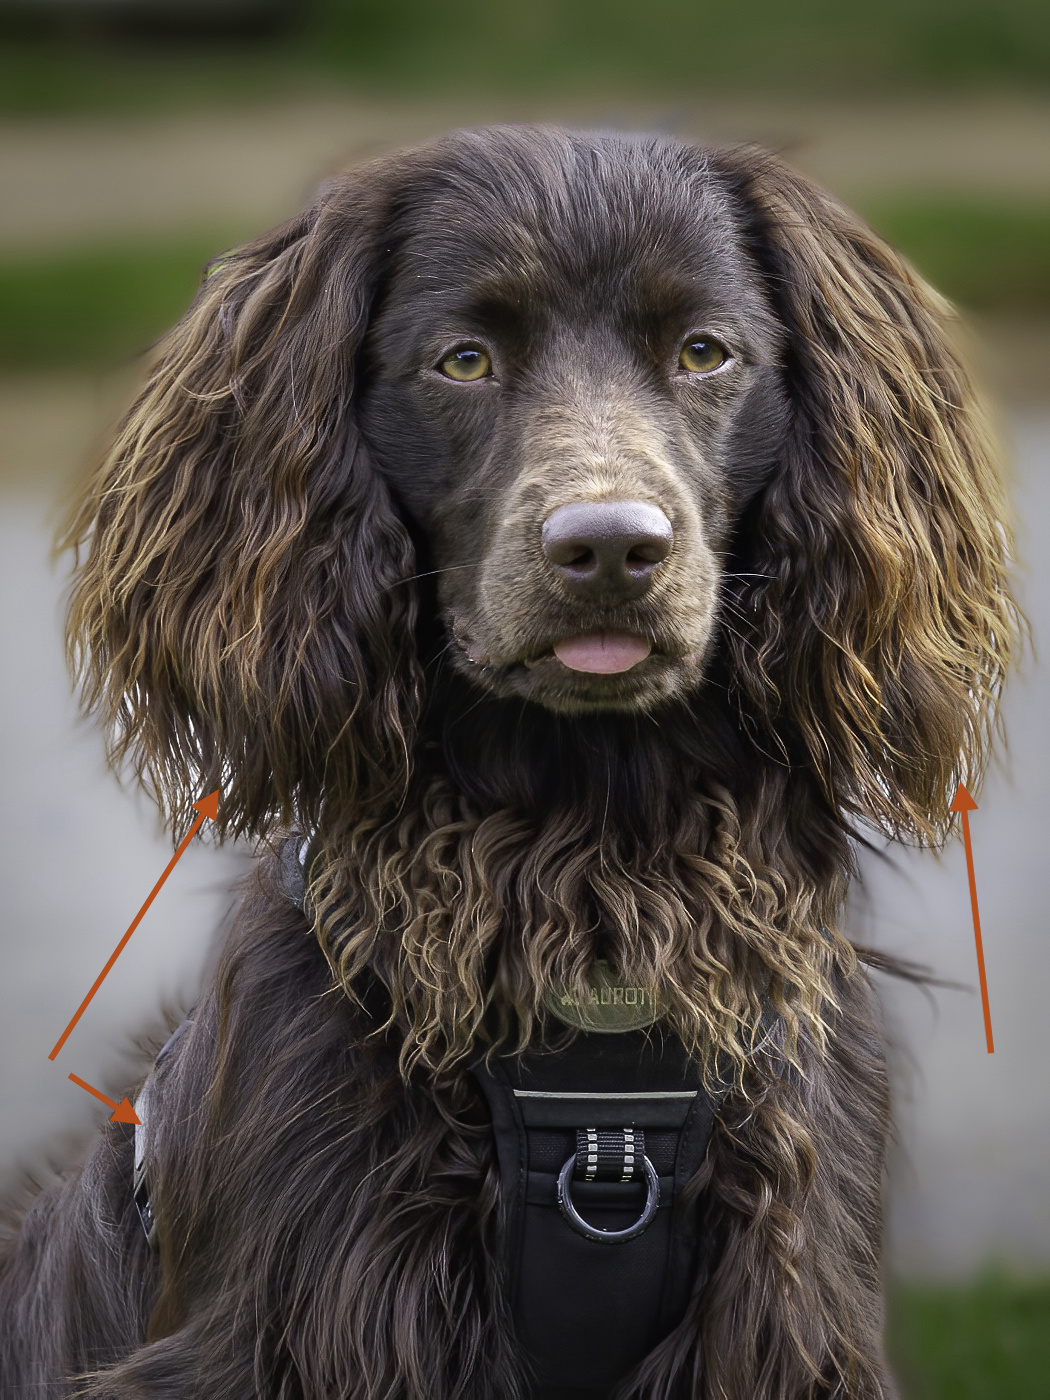
Very well captured, good dog portrait, changing background works well, some more work required, marked with arrow in attached photo. Posted: 09/03/2023 20:53:39
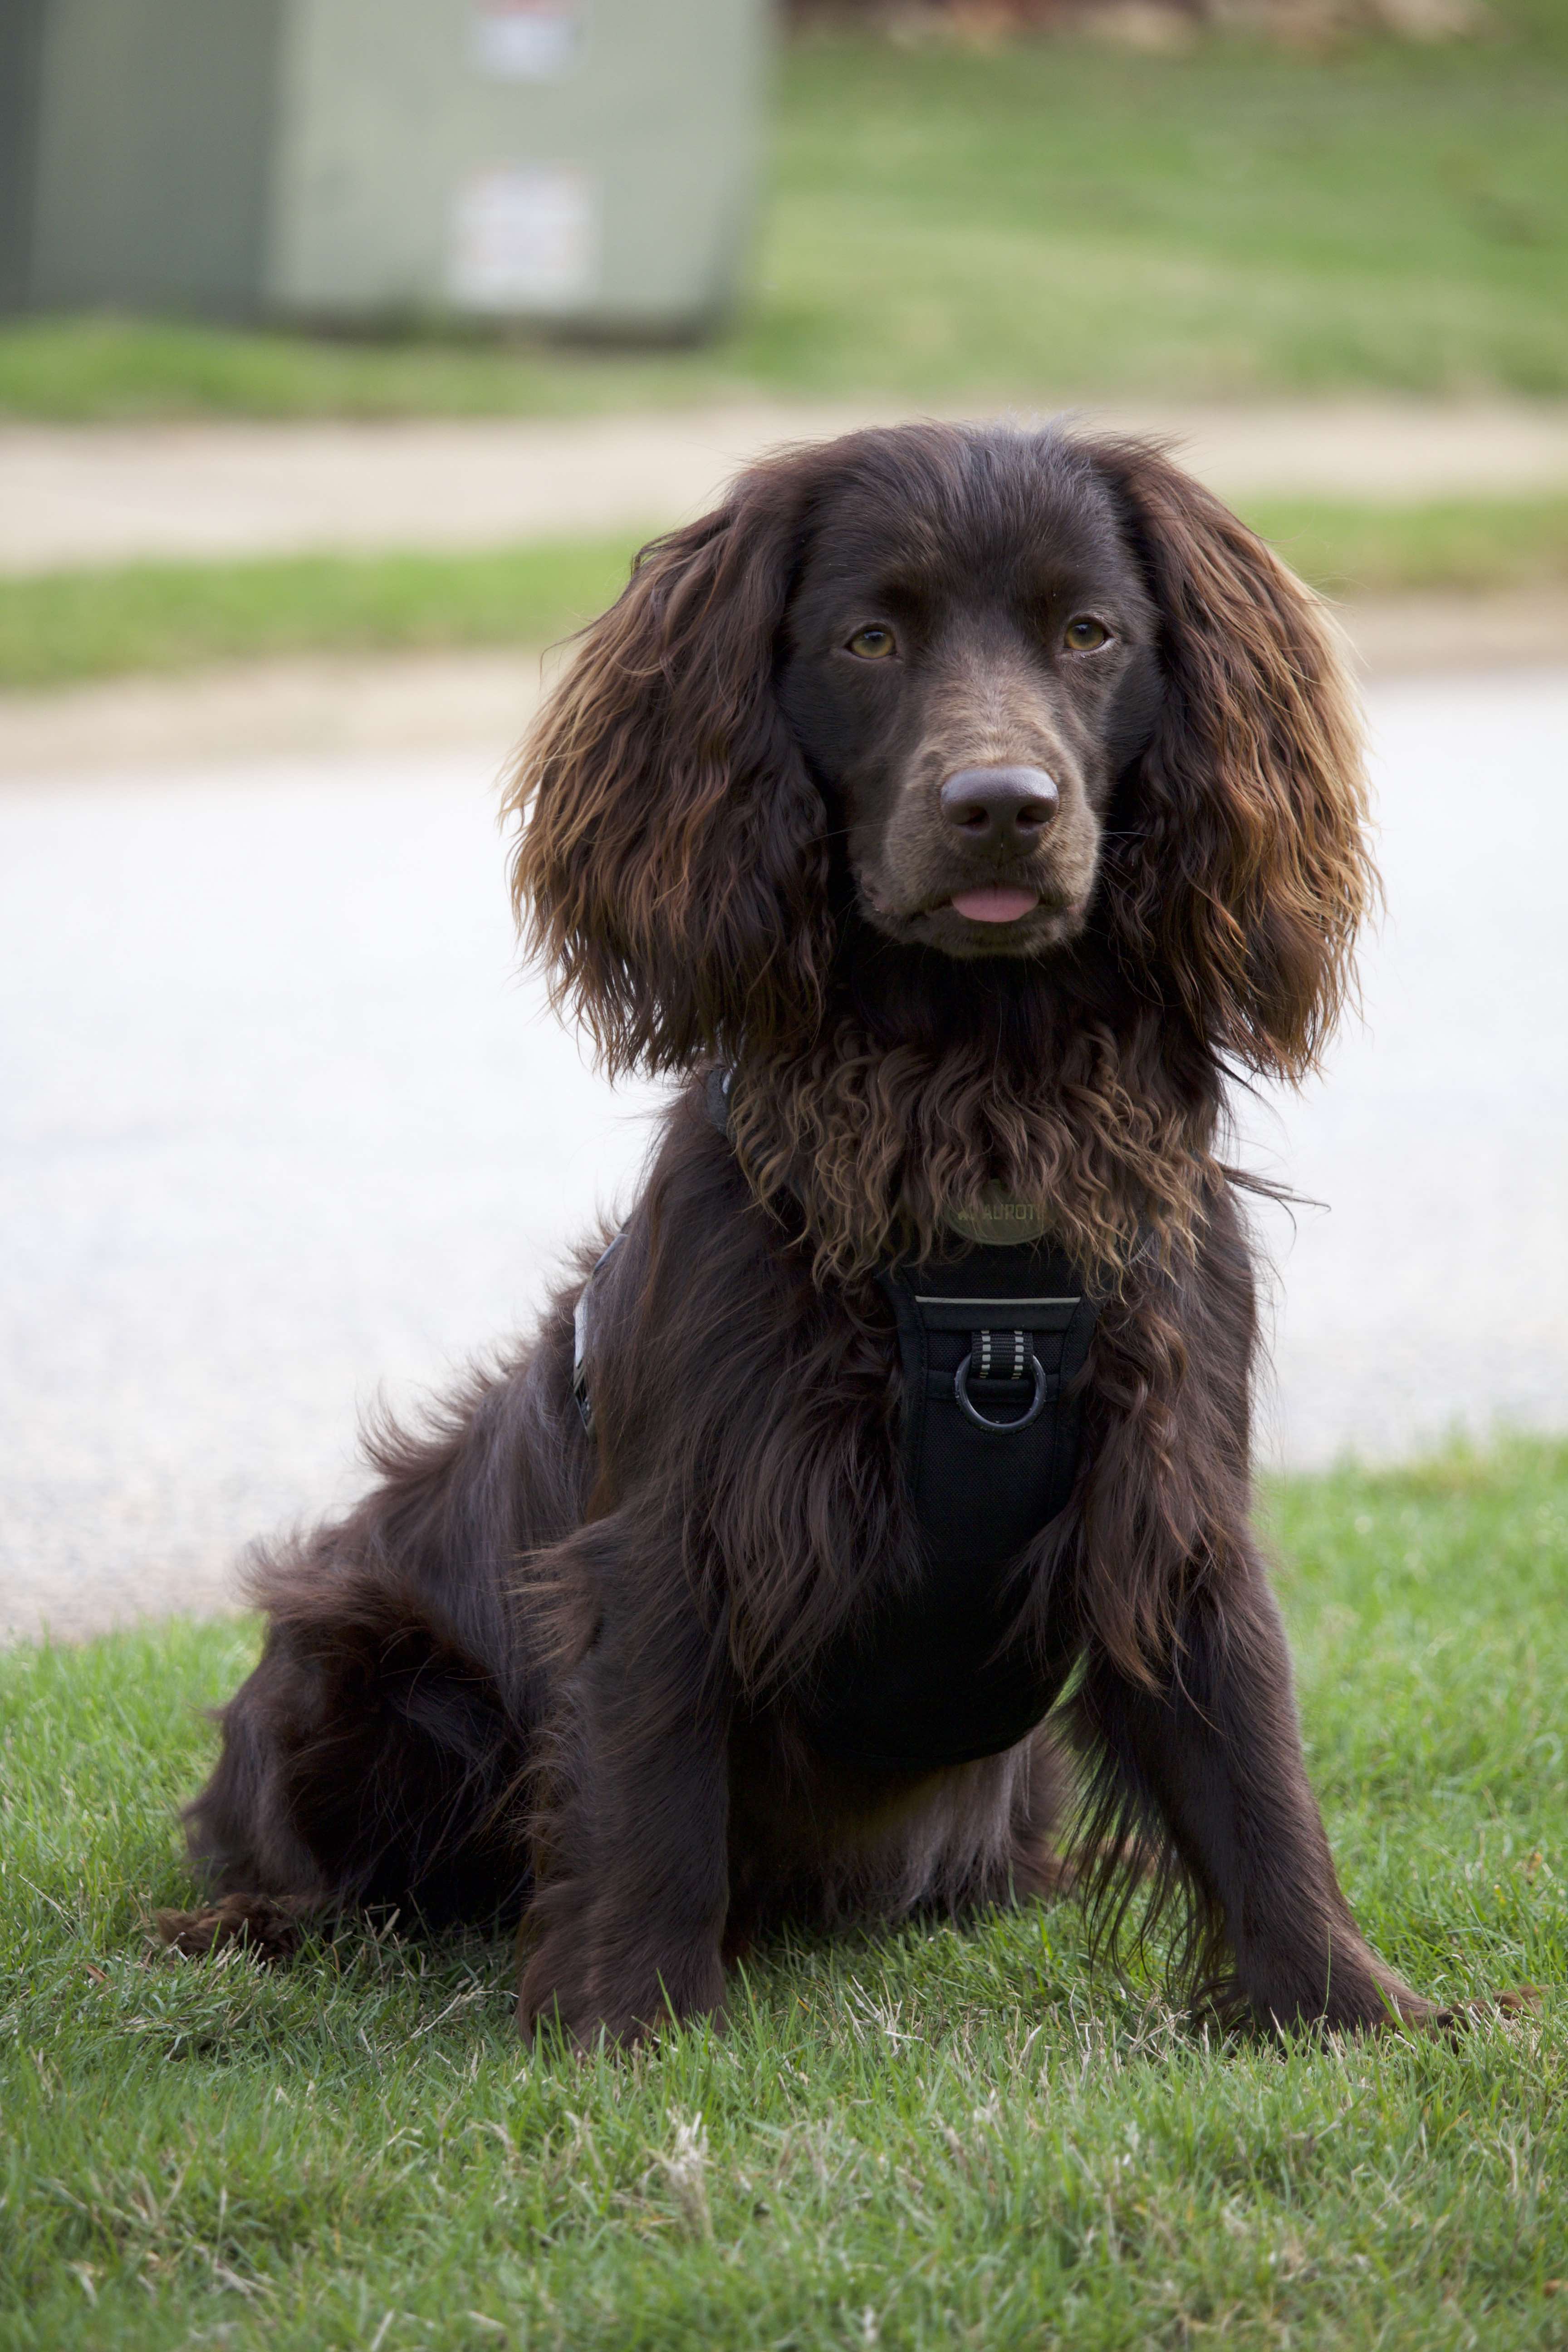
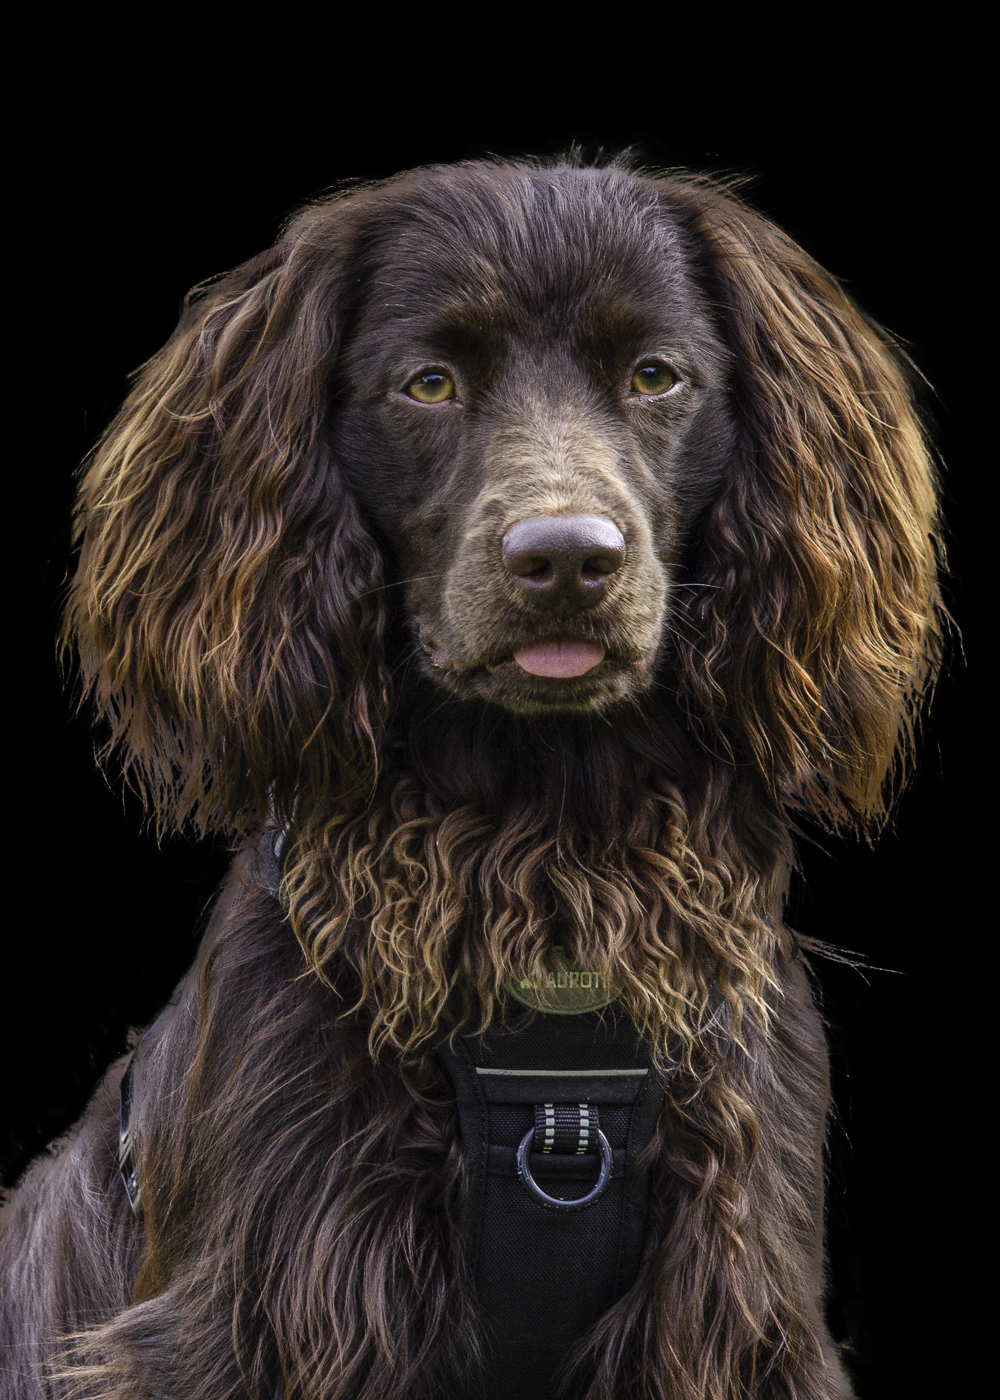
This version looks good, black background adds more impact to the portrait. Posted: 09/24/2023 09:36:29
I've flagged some pin tool lessons in my new KelbyOne membership and will definitely investigate them further in the future. Posted: 09/24/2023 09:26:03
Here's Matt K's short video showing how it works. https://mattk.com/one-click-to-better-photoshop-selections/
My suggestion would be to put in a completely different blurred background...sky replacement, trees, anything. I think that would show your grandpup off better than the road cutting him into sections and distracting us from that adorable tongue! Posted: 09/12/2023 12:55:27
Brenda's tip regarding the use of cloud AI masking through Photoshop and changing the background led me down the path of deciding to embrace learning Lightroom and Photoshop in much greater detail and signing up for a one year subscription to KelbyOne (we receive a nice discount through PSA too!).
Using that tip combined with some learning in KelbyOne, I opened the original in Lightroom, took it over to Photoshop, created some additional layers, masked using the Cloud version of the AI masking, then used the "Refine Hair" feature to get it as good as I could within a reasonable amount of time, inverted the selection to make it be a highlight of the background, then I painted the background black. I finally took it back over to Lightroom, made a few more tweaks on the highlights, shadows, blacks, whites, etc., selectively increased sharpness on the eyes and snout, then reexported it.
I liked my original crop the best (thanks Robert for suggesting a tighter crop, I did play with it but couldn't love it).
Ken's amazing image with the black background led me to try that as a background color for my image as well.
The new one represents the most I have personally done with Photoshop to date. Posted: 09/24/2023 09:23:25
Scott Kelby does a FREE weekly Facebook Podcast called the Grid, where he talks about different photo topics. You can go back through the recordings for his monthly, "How I Would Edit your Photo". You can skip the commercials and I find them very helpful for how he does the latest techniques with LR/PS.
Scott also has FREE "Blind Critiques" on the Grid, and these are very helpful to see what he likes/dislikes in images. Great comparisons.
Find them here: https://www.facebook.com/SKelby
Do follow Matt K and subscribe. He does free short recordings every couple of weeks and I learn something every time. He's a great instructor, too.
Posted: 09/24/2023 15:40:57
Ken Posted: 09/24/2023 15:40:43