Stuart Ord
About the Image(s)
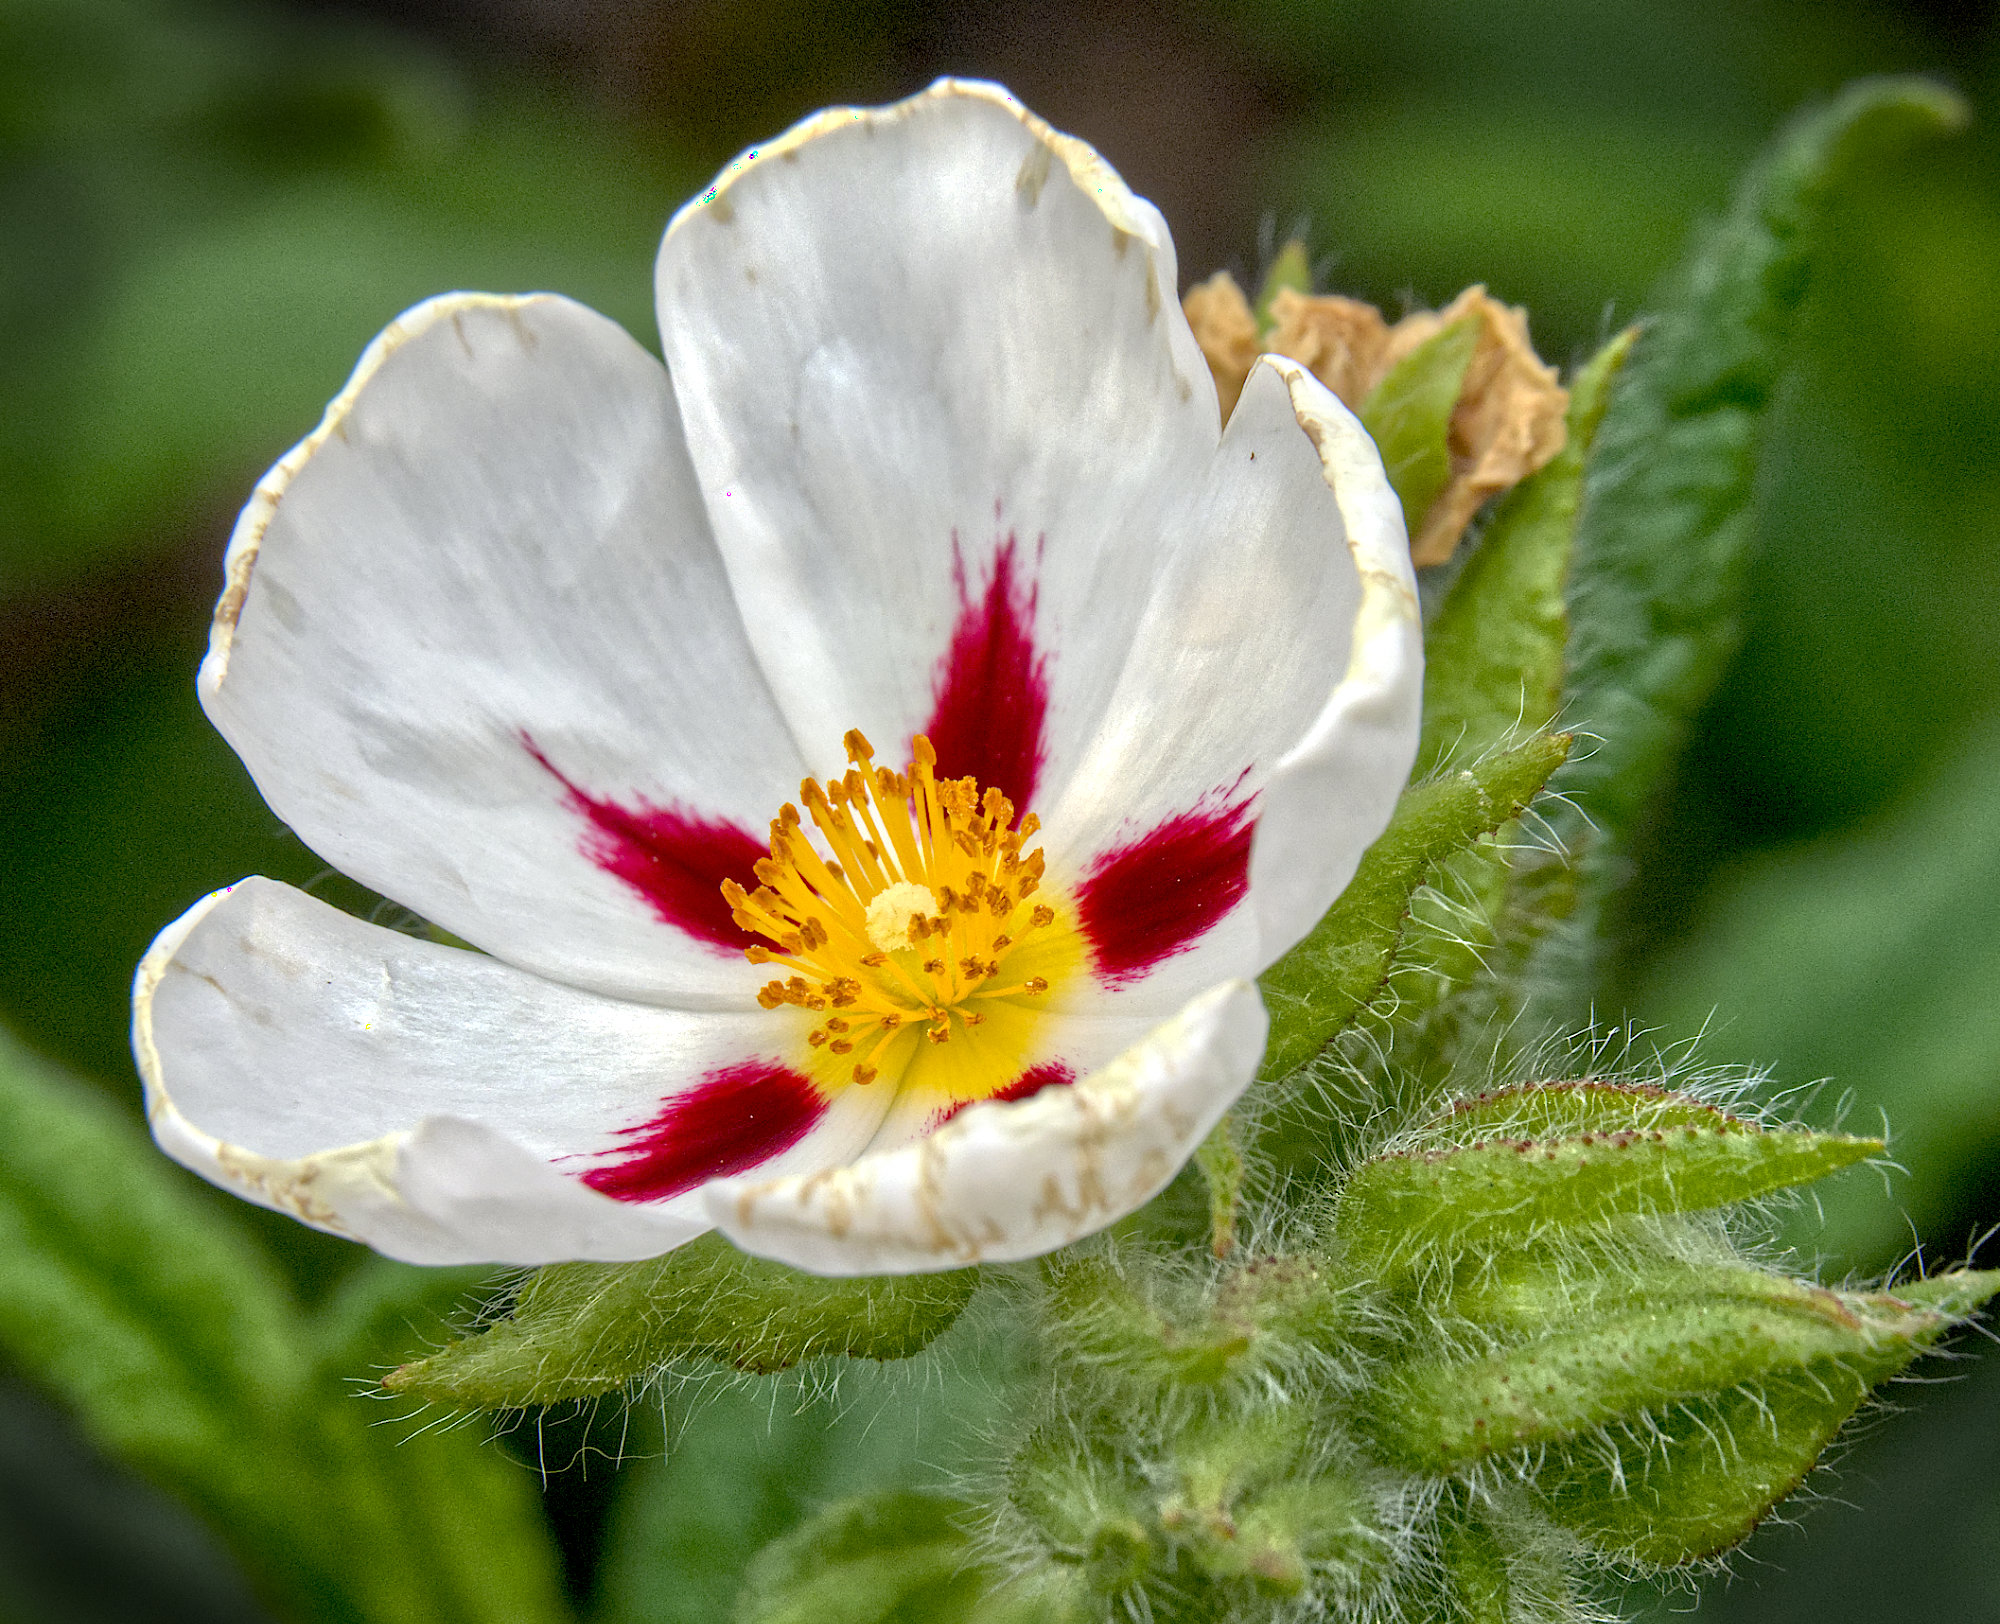
I was at the RHS (Royal Horticultural Society) garden "Bridgewater" in Manchester yesterday. They have a nice display of spring flowers. I thought I'd try to emulate Carol's ephemeral treatment of single flowers, but alas time is not on my side this month, and I've barely started. So, all I can offer if a minimally-processed image.
This flower is common here, bt only grows on the west coast of the USA.
Olympsu M1ii, Olympus 14-150mm lenas at 150mm with a 10mm extension tube, 1/25g0sec, f10, ISO 1000. Processed from RAW in Affinity 1.
This round’s discussion is now closed!
7 comments posted
This capture feels perfect to me, sharp in all the right areas with small details on the leaves and center. The white balance, the background, and the strong colors all work well together. A squarish crop feels perfect for this. Excellent image, IMHO! Posted: 05/16/2023 20:42:32
Hi Stuart, Wow what a beautiful shot. I am impressed on how you managed to get all of it focus, and the details of the leaves are amazing. Lots to learn... Posted: 05/23/2023 17:03:31
I love revealing detail like the hairs on the leaves. Some say I over-sharpen, but I don't agree such is possible unless artefacts appear.
Anyway, the way I do it is in Affinity Photo. I only take RAW files, so it opens in Affinity's RAW persona. In there, as well as adjusting brightness and contrast, I pull back the highlights and perhaps lift the shadows to avoid blown highlights and too dark shadows. I then increase the clarity to anything from 20% to 100%, depending on what looks best.
Then I go to the Details tab where I open Details Refinement and increase both Radius and Amount to about 50% (again basedon results). Sometimes this blows some more highlights and I need to decrease the highlights again in the Basic tab to remove them. Then click Develop to get to the Photo persona.
Then I remove any distractions, crop, dodge and burn as needed, add a live Unsharp Mask layer (many prefer other sharpening methods, but this seems to work best for me. If I see no improvement I delete the layer again) and I'm done. Export for sending to DD etc, save.
Quite easy! Posted: 05/24/2023 00:45:20
(Group 0)
I think that's a good improvement, Tom. As usual, I can over-do things! Posted: 05/28/2023 02:21:56
stuart this is such a pretty photo. flower has a lot of focus points at center and red spots especially and you did not stack. green/hair are very sharp. I like the flower and the green/hairs but they are competing for my attention. the green blurred background is great - no excess distractions in the green. [ps sorry I'm late due to vacation and leg injury] Posted: 05/29/2023 21:34:03
Thanks, Pat. I think you are liking Tom's modification too.
No problem, I hope your leg is recovering. Posted: 05/30/2023 04:32:00
No problem, I hope your leg is recovering. Posted: 05/30/2023 04:32:00

