Larry Conly
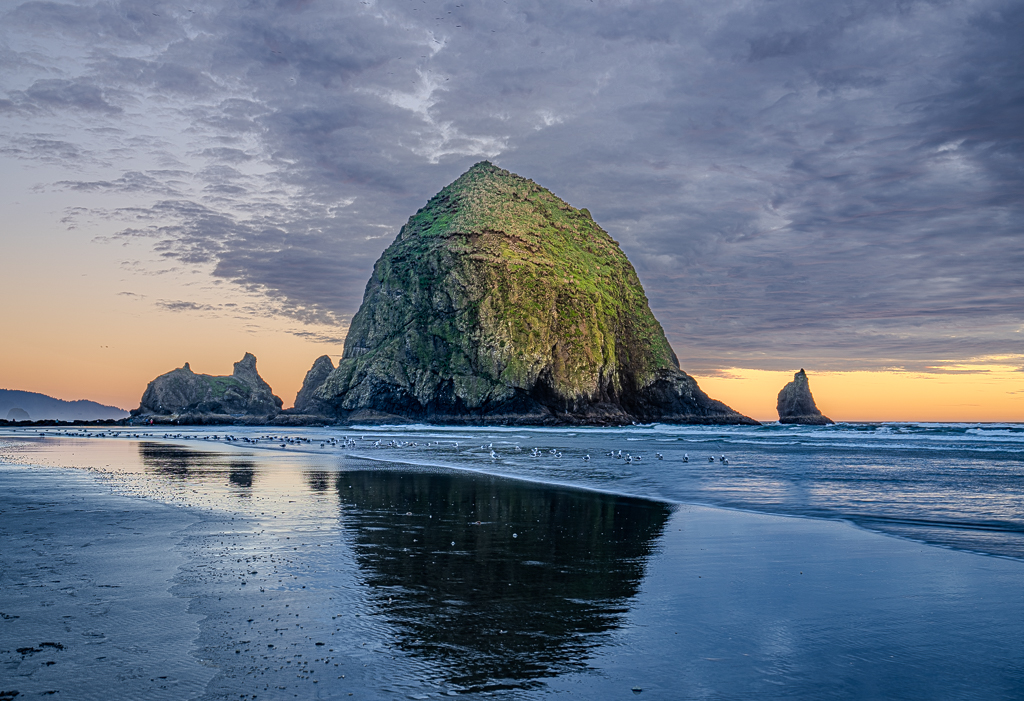
April 2026 - Evening at Cannon Beach, Oregon
About the Image(s)
Taken on Sony A7R5 with a Sony 16-35mm lens at 35mm, ISO 100, f/5.0, five stacked images from 1/20sec - 1/8sec, on a tripod in the mud.
Most of my pictures are missing interesting skies so I was hoping to capture the colors of the setting sun with some clouds post a storm. Unfortunately the weather went from overcast to partly cloudy to overcast very quickly. I don’t normally do HDR photographs as I don’t usually think they’re worth the effort given my skill/equipment, but I figured I’d give it a shot here.
In addition to HDR stacking five images, I cropped to remove many of the people, used the non-AI healing tool to remove some blurred seagulls (from the slow speed and the ghosting from the stacking), warmed/tinted the sky from blue to pickup more of the warm pinkish color, lightened the rock, and used a radial mask intersected with the subject to create a warm glow on the sun side of the rock.
I’m a tad disappointed with the export image; it might be the resolution drop but it could also be the HDR colorspace.
6 comments posted
The most efficient fix depends on where in the workflow you are:
If editing in Lightroom / Camera Raw
This is the fastest fix - Masking slider in the Sharpening panel:
Hold Alt/Option while dragging the Masking slider
The screen turns black-and-white - white areas get sharpened, black areas don't
Drag until the sky goes black (unsharpened), keeping only true edges white
This prevents the halo from forming in the first place
Also check Detail ? Sharpening ? Radius - lower it to 0.5-0.8 to tighten the effect.
If the halo already exists in the image
The most targeted fix is in Photoshop:
Duplicate the layer
Go to Filter ? Other ? High Pass (set low, ~1-2px)
Or more directly: select the sky with Select ? Sky (modern PS does this automatically)
Slightly expand the selection to include the halo
Use Edit ? Content Aware Fill or a gentle Curves/Levels adjustment to bring that bright line down
Fastest single-step method (Photoshop/PS)
Filter ? Camera Raw Filter ? Detail tab - reduce sharpening and use the Masking slider there, non-destructively
In Capture One
Use the Halo Suppression slider (it literally exists for this purpose) under the Sharpening tab - unique to C1 and very effective
Prevention (best long-term fix)
Shoot RAW so you control sharpening yourself - never rely on in-camera JPEG sharpening
Keep Lightroom's default sharpening Amount below 40 for landscapes
Use luminosity masks to apply sharpening only to the foreground, never the sky
The single most efficient method overall is the Lightroom Masking slider - it takes about 5 seconds and stops the halo from ever being baked in. Posted: 04/08/2026 01:05:43
What a magical place and I know the best layer plans don't always work out, but you perservered and produced a beautiful depiction of a well known area!
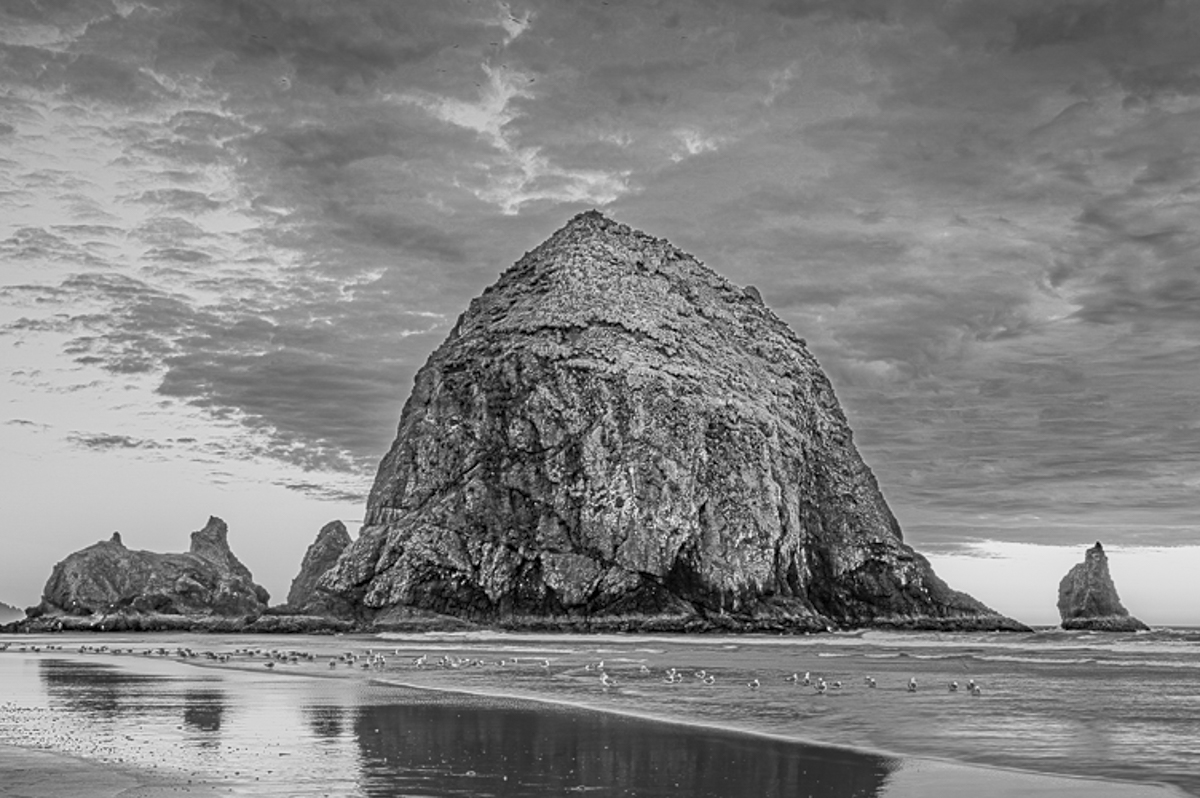
My experience is that huge images like that struggle to hold up with a 1MB limit. What is more important is that the original that you have meets your expectations! I also love the large number of birds feeding on the beach at sunset...and no they are not crisp ...but there is no mistaking what the images represent. Posted: 04/15/2026 19:40:14