Bill Peake
October 2025 - Eglinton Lunatic Asylum
Original
About the Image(s)
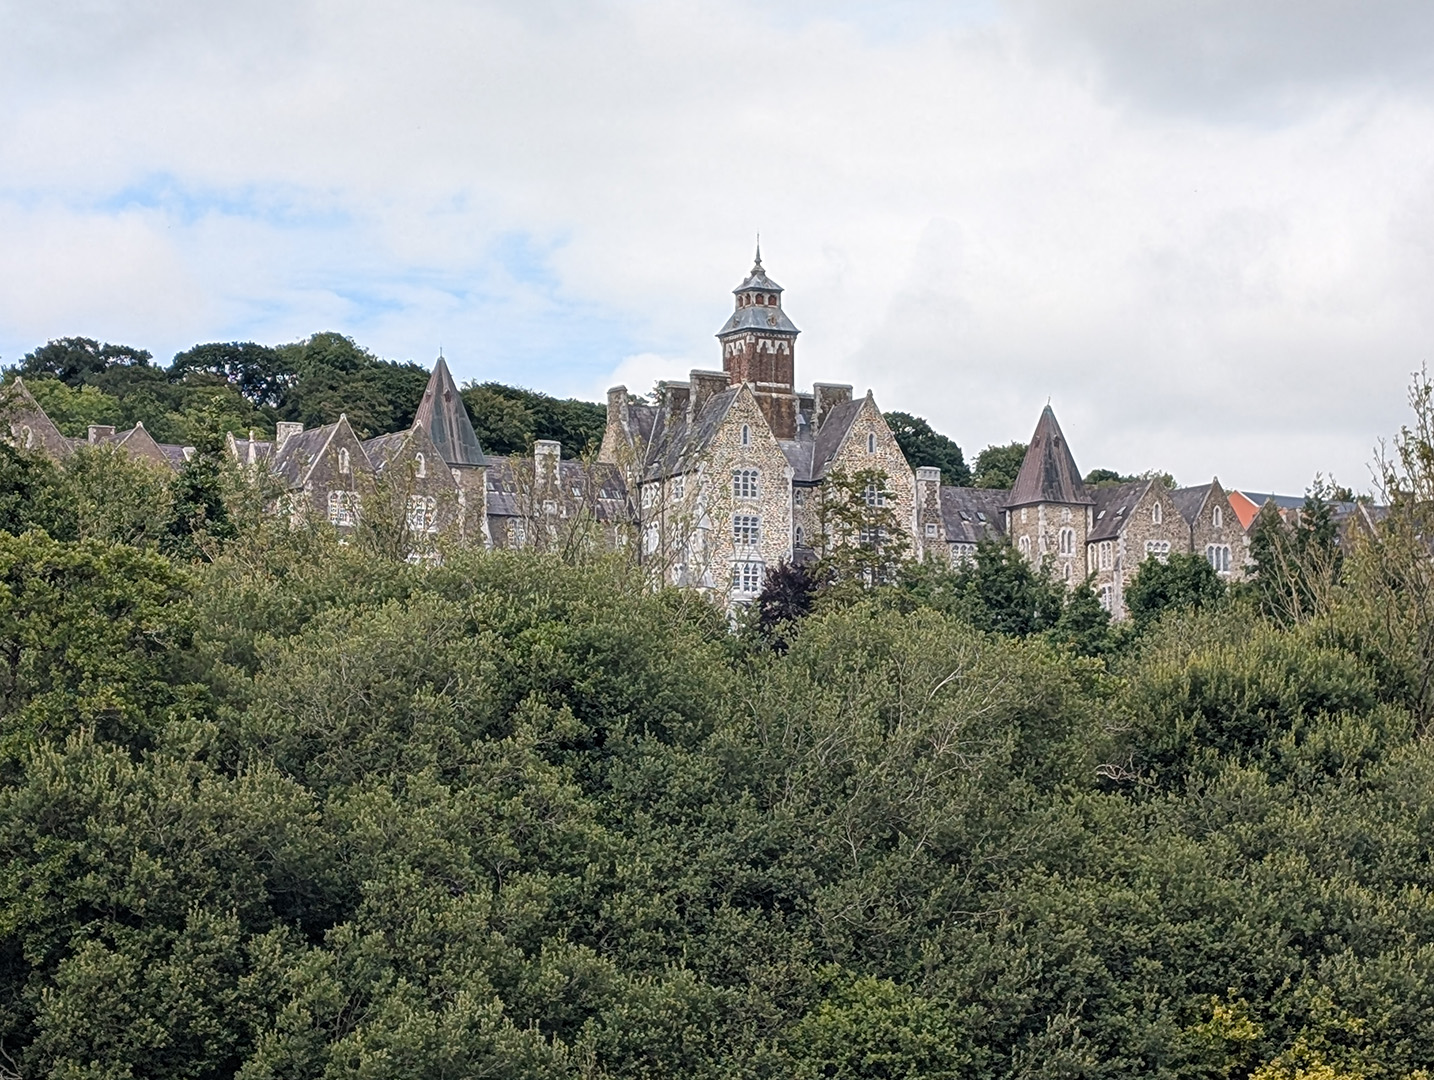
This is an image from a recent six-week vacation to Ireland. While we were at dinner on our first day in Cork, we noticed a set of creepy looking buildings across the River Lee from our hotel. I commented to my wife that it looked like a haunted insane asylum. Well, it turned out that looks are not deceiving, and it actually was an abandoned insane asylum built in the mid nineteenth century, the Eglinton Lunatic Asulum, opened in 1852. It also has a reputation for paranormal activity, so yeah, haunted. We went for a walk along the river lee the next day where I captured this image along with many others.
The image was taken on a Pixel 9 using the built-in camera app using the automatic settings and selected the optical 1x zoom lens. Post processing was done in Photoshop 2024. First, I eliminated some distracting elements, include some of the trees blocking the view. I did some preliminary adjustments to the image with Camera Raw. I did some light sharpening on some of the stonework on the building. I then cropped the image into a 16:9 format.
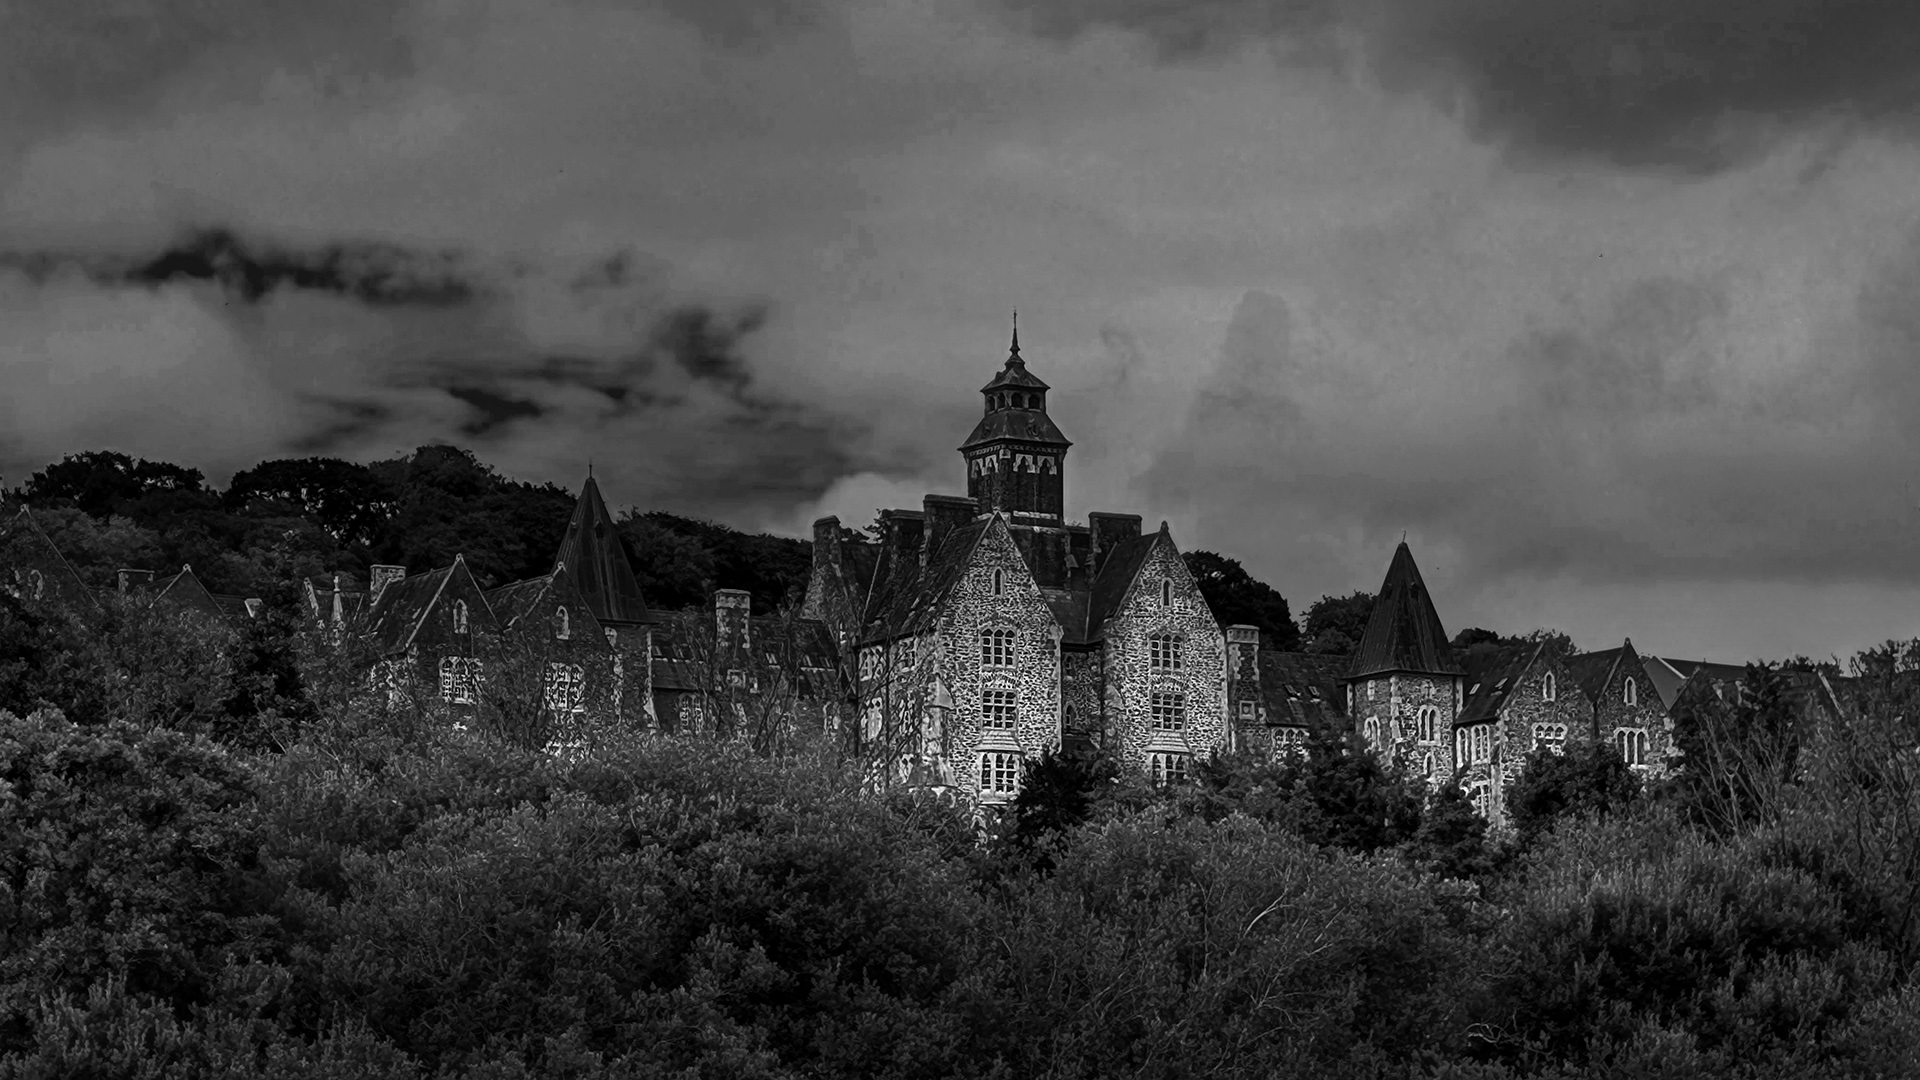
I wanted to make this image Halloween themed, so I opted for a black and white treatment. One of my favorite horror movies is the 1963 production of “The Haunting of Hill House” by Shirley Jackson which is simply titled “The Haunting”, which was shot in black & white. A similar neogothic structure, Ettington Park was used as the exterior of Hill House. The director and cinematographer, Robert Wise and Davis Boulton hit on the idea using infrared film which gave the house a more menacing look.
I wanted the shot to look like it was taken on an overcast moonlit night. To achieve this look I created several layers. The first layer is a color lookup layer set to the HorrorBlue preset. This then feeds into a B&W conversion layer. The result is quite stark and almost monochromatic. I then created another layer using a B&W conversion set to the infrared preset with the lookup layer turned off. I set this layer to 64% opacity over the color lookup B&W layers. I then did an exposure adjustment layer set to -2.95 stops and set it to an opacity of 21%. I masked out the buildings and foreground for this layer. I then did 2 brightness/contrast layers set to -95 brightness/+40 contrast again with the buildings and foreground masked set to 55% and 25% opacity respectively.
Finally, I needed to correct a halo that was quite visible between the sky and the buildings and background foliage. Normally these halos come from poor masking, but in this case, there was no mask in that area. I did some investigation and found that the halo is in the original image, and is an artifact from the camera. The contrast/brightness adjustments simply made it more visible. I found a technique online to correct this using the healing brush tool with the mode set to darken and the source to sampled and then just painting the halo away on a new layer. This was so easy to do I am definitely keeping it in my toolkit, as I have noticed this problem in many of my landscape images, even RAW images from my D7200.