Cindy Bilinsky

October 2026 - Tahquamenon Falls
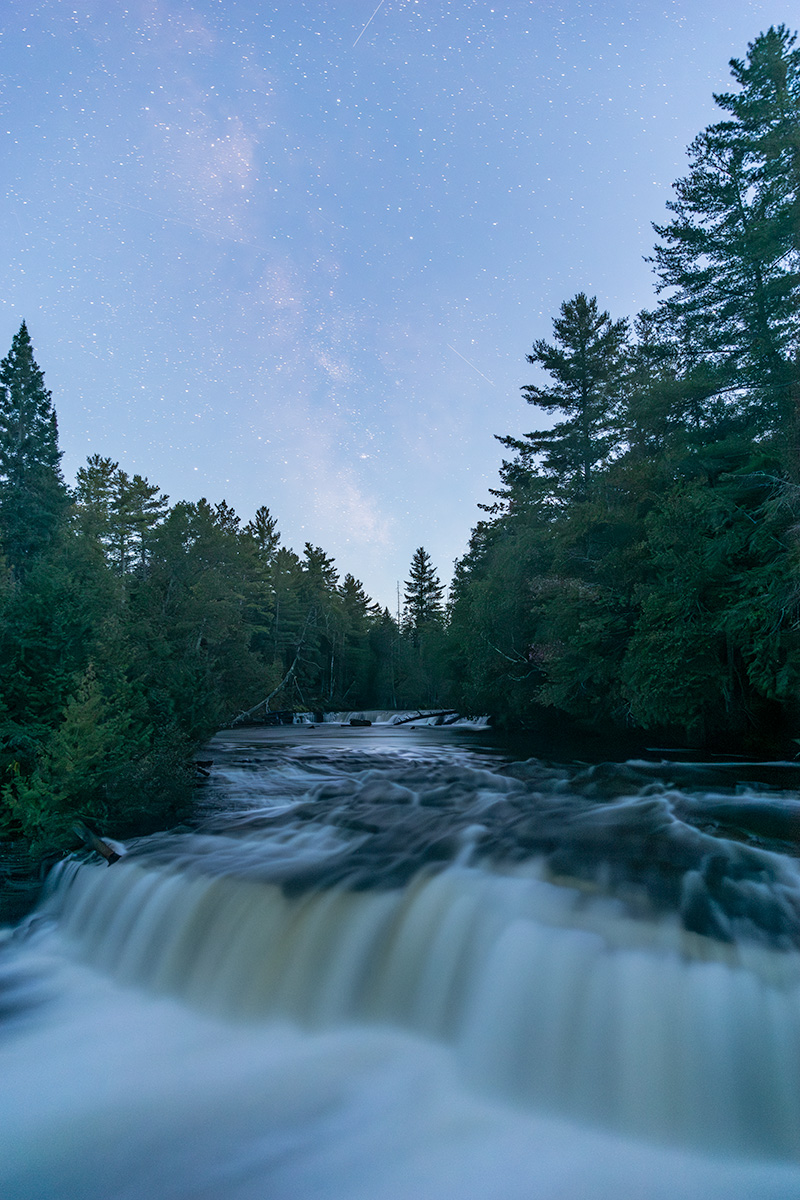
Original
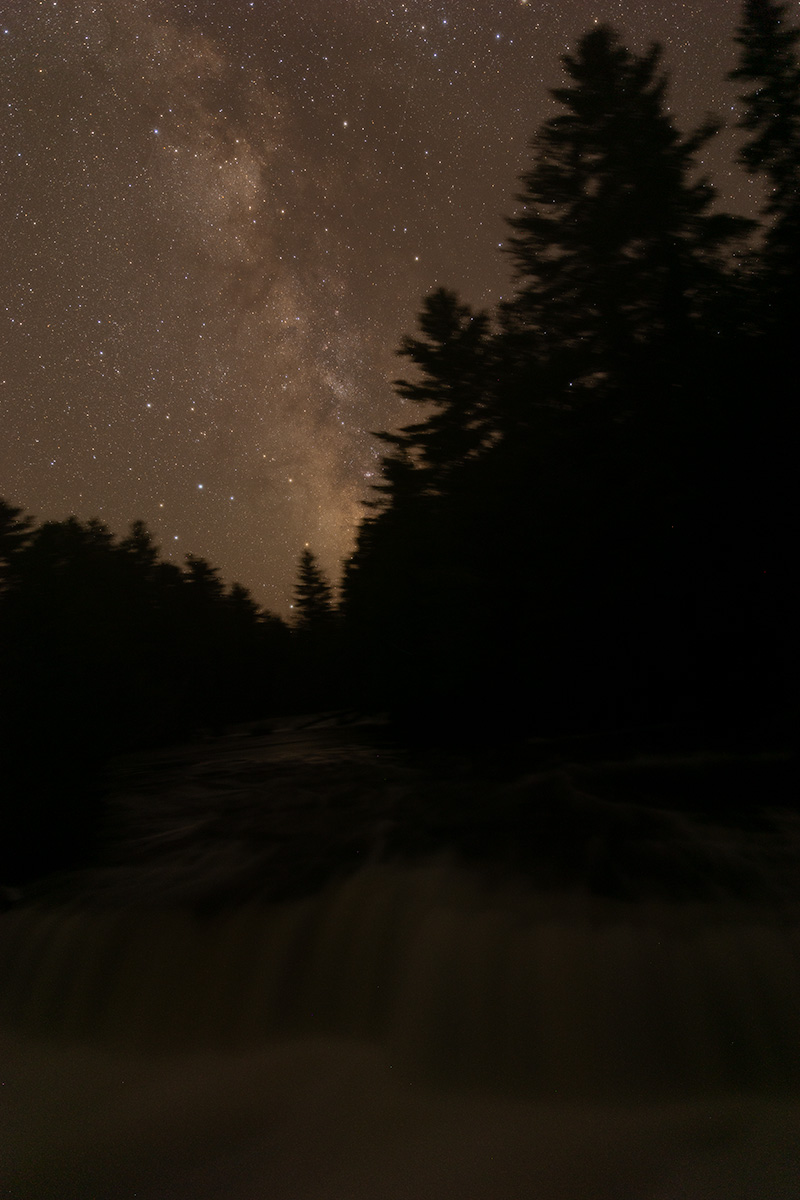
Original 2
About the Image(s)
The final image is a blue hour blend of Tahquamenon Falls in the upper peninsula of Michigan. My daughter in law and I went up 3 weeks ago with hopes of getting the milky way at the upper falls as I had purchased a permit for the summer to go out at night and we had not been there. With the milky way season coming to an end we hoped to have clear skies and good milky way position. The milky way was not in the best position for an upper falls shot but when I pulled it up on PhotoPills I was excited to see the milky way was rising in a perfect spot over the lower falls.
I set my tripod up and took my foreground shot at the blue hour and then covered my camera with my raincoat while I waited for the milky way to rise and present in the spot I was waiting for. The foreground was shot at ISO 2500, f3.5, 24mm, at 25 sec. The sky was shot using a sky tracker and ISO 800, kelvin 5800, 24mm, f 2.8 and 2 1/2 minute exposure.
8 comments posted
I am very impressed with the way you used the technique to capture a silky Tahquamenon Falls at blue hour then the milky way at night.
Did you use multiple exposure function to capture in camera the image of the waterfalls then rolled back that image to capture the second one to overlay it (like the existing built-in multiple exposure function in camera?)
Both the waterfalls and the milky way are technically and separately well done. My perspective might be different than others since the bright area of the waterfalls does not naturally match with the dark scene of the milky way. I'd want to learn from others' comments. Thanks for sharing your technique and your beautiful image! Posted: 10/10/2026 15:31:30
That you for your comments. No this image was not produced in camera. I have included the two shots that I used to merge this blue hour blend to illustrate the transformation. As you can see there is a drastic change in lighting and sometimes I adjust my Kelvin to different settings to assist in the blending of the final image. It is a challenge to get the lighting to blend; however, there will be some color differences in many of these images. See my response to Ruth as it explains a little more. I may post more of my astroshots to illustrate different techniques Posted: 10/10/2026 20:49:54
Thank you for your comments. When I do the blue hour blends there are several challenges I have to overcome. One of the challenges is the change in lighting from blue hour to the full night sky. Some images are easier to edit than others and this one had several challenges. I have been doing astrophotography for about 8 years and make technique and editing skills have become more sophisticated and refined; however, there is much to learn and the more I do the more I understand there is so much more. My astrophotography started out with single shots and short exposures as it took awhile to learn my sky tracker. Then I moved to light painting the foreground and from there I began light painting the foreground with one shot and a second shot of the sky. I find the blue hour blends to produce an image I am happy with.
I will try to give a little more information regarding the process I use when I do these images. Generally, they take me upwards of 8-10 hours to edit. I start in lightroom and do a few basic adjustments and then move both images to photoshop as I work in several layers. I could and may start to go directly to camera RAW to do my beginning adjustments. Then I move my foreground image into channels to create a mask. That is actually where I lost the branches in this image and I may try to edit it again as I have a couple more ideas to avoid that. However, the branches were not missing because of the lightened sky. They are missing from my foreground image due to a slight bump of my tracker which caused some movement that was evident in the tops of the trees. Despite several attempts at correcting the shift I was unable to do that. I do a lot of work on the sky to bring out all the data the camera captures. I merge the two shots and make tonal adjustments to blend the two shots. This one posed a little challenge in terms of getting the tones closer. I don't know if this helps to explain a little further what I do. I may start posting more of my astroshot to illustrate the different ways to do astrophotography. Posted: 10/10/2026 20:40:17