Jim Hagan, MPSA
August 2020 - Fisher Building Hallway
About the Image(s)
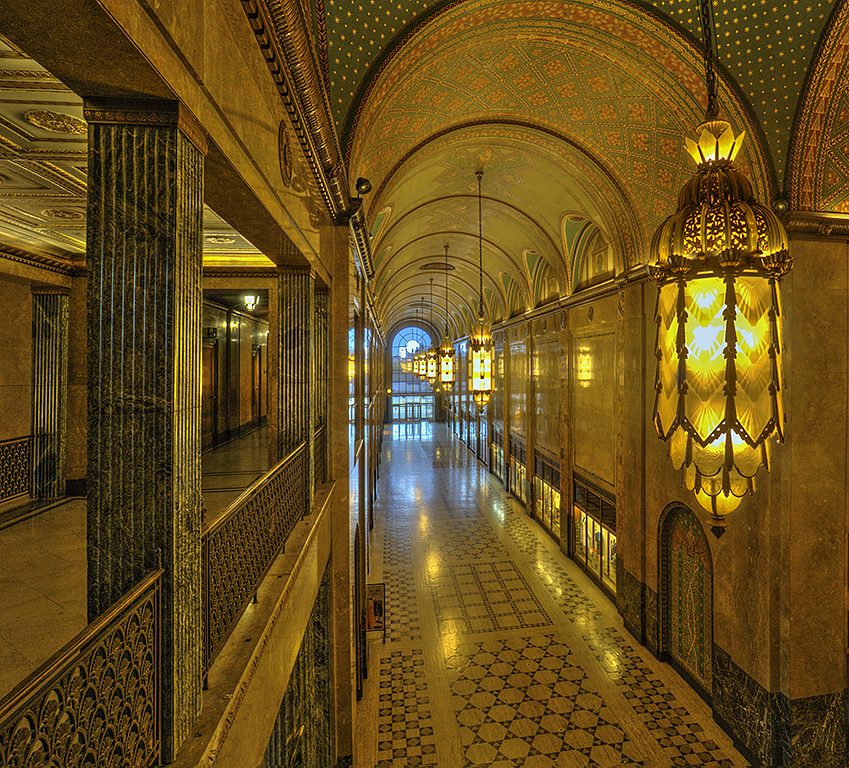
The Fisher Building is a landmark skyscraper in the heart of Detroit. The 30 story building was completed in 1928 by renowned architect Albert Kahn.
The building was designed in an art deco style with limestone, granite and several types of marble and contains the 2,089 seat Fisher Theatre which is a National Historic Landmark. The three story vaulted lobby is constructed
with 40 different kinds of marble and is highly regarded by architects.
I visited the Fisher Building 5 years ago on a Sunday and was dazzled by everything and especially the corridors. I photographed this portion of a corridor using my Sony digital camera, zoom lens at 15 mm, 1/8, f/9, ISO at
200 while using a tripod.
I cropped the right side of the original image both to eliminate a bright store window and also to place one of the light fixtures in a more prominent position. In Photoshop I straightened some of the distorted angles and also reduced the brightness of the light fixtures.
This round’s discussion is now closed!
19 comments posted
This is now a tough call 'cos you were there and I wasn't, but it feels a bit too gold for me, especially in the green ceiling. I have tried what I think looks more real but as I said I wasn't there so feel free to totally ignore this bit.
Posted: 08/11/2020 11:35:52

It was a pity the top of the arch was missing. Also, one step back would have given you the top of the arch and the bottom right diagonal line into the corner of your image. Posted: 08/16/2020 20:19:19
I like the contrast of the warm golden interior with the blue light from outside at the end of the hallway. I tend to agree that maybe toning down the gold just a touch might work.
Even though the left pillar is perfectly straight, I kind of feel like I'm leaning to the left going down the hallway. Maybe a result of the lens / perspective?
Posted: 08/17/2020 15:24:15
(Group 32)
I like to play with such angled shot, as with the attached. Just fun. Posted: 08/18/2020 10:51:27
(Group 32)
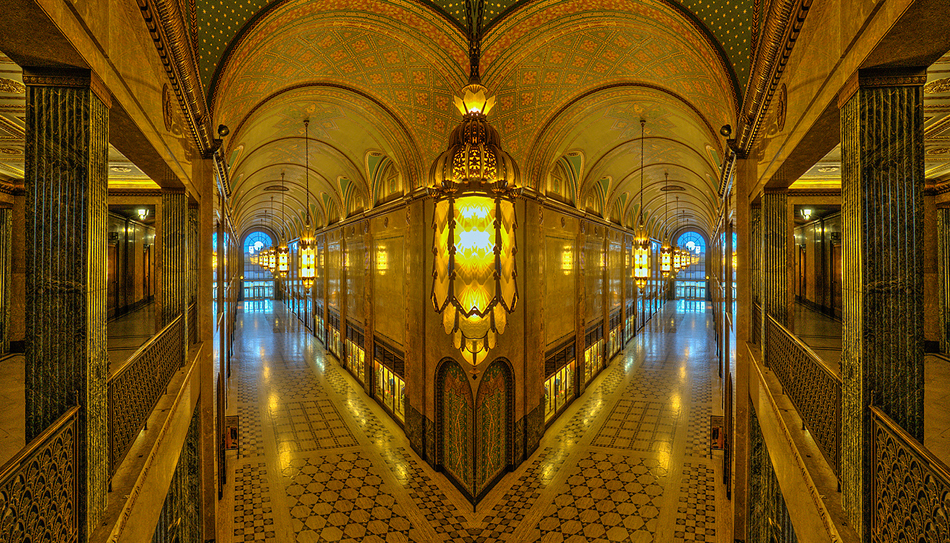
Here are the basic steps. I used PS Elements.
1. Open a new blank PS document, with lots of space to receive two copies of your image. Later you can crop down to just the final image.
2. Crop your original image (if needed, as in this case) to just the portion of the image you want, and copy it into layer 1 of the new document.
3. Go back to the Step 2 image, flip it horizontally, and copy that to layer 2 of the new document.
4. Move the images to touch, crop the composite to get rid of excess empty space, and save as a JPEG if you want.
Lots more creativity is possible with copying, transforming, and pasting into a new document, and we have seen some fantastic stuff (much more than this basic technique) throughout the Digital Dialogues over the months and years. Some folks are fantastic with their imaginative transformations. Posted: 08/18/2020 14:50:52
(Group 32)
But I want to point out a practical use, not just the creative use. If you are in a tight space and can't step back for a full view, or if half a church nave is covered with construction, or if tourists are crawling all over one side of your subject, you can shoot one side only, and then create a finished image using a mirror copy.
Adrian Binney has a church ceiling shot in Group 47 this month that could be mirrored in quarters. Posted: 08/20/2020 16:13:36
As I wrote in the group 78 BB, I had been playing with this technique already this week on my blog.
Here's one I posted today which I think turned out well
https://jason.aminus3.com/image/2020-08-21.html Posted: 08/21/2020 09:30:03