David Cooke
August 2019 - The Escape
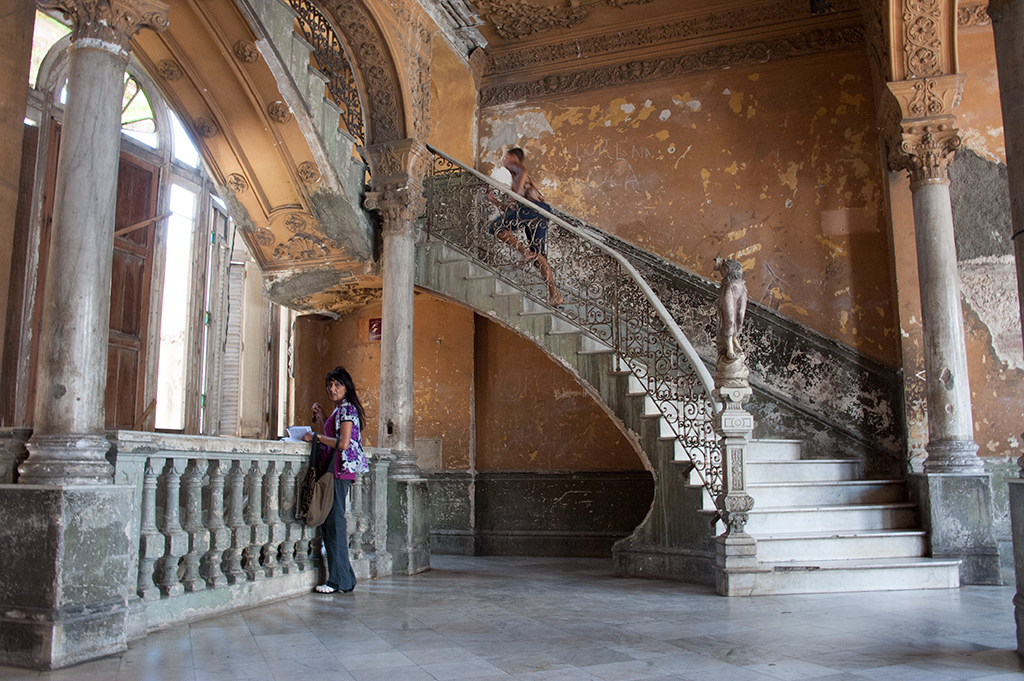
Original
About the Image(s)
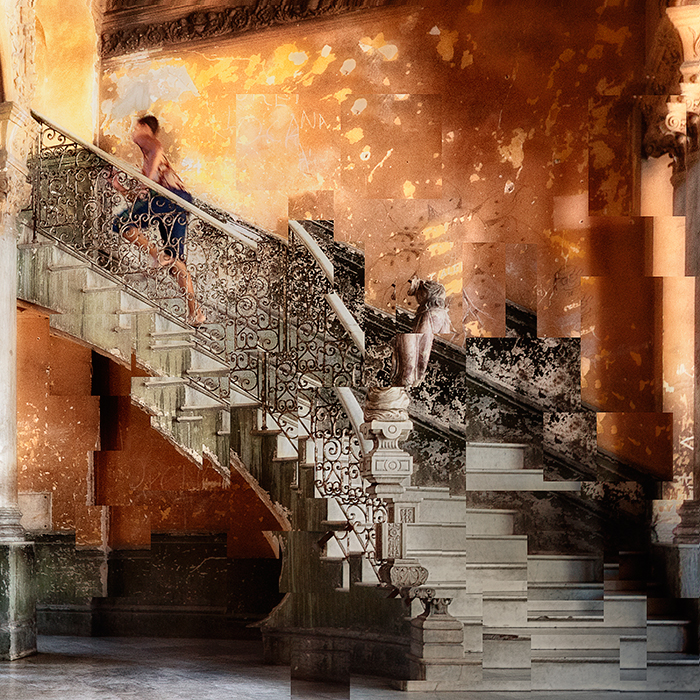
The Escape
This image was taken in Havana in 2011.
I really liked the way the boy had a slight amount of motion blur (see the original image) and I wanted to create a feeling of his escaping from the frame. After some experimentation, I decide to try to create a feeling of ‘disaster’ by moving parts of the stairs, as if it were in an earthquake.
After cropping the image so that it was square, I used Photoshop ‘Transform’ to correct the horizontals and verticals, followed by Nik Glamour Glow to give a slightly dreamy feel. The latter was removed from the stairs and the boy himself using a layer mask. I then used Nik Viveza to change the lighting to shift the emphasis to the top left hand corner of the image in an attempt to create a feeling that he was escaping from the darkness into the light.
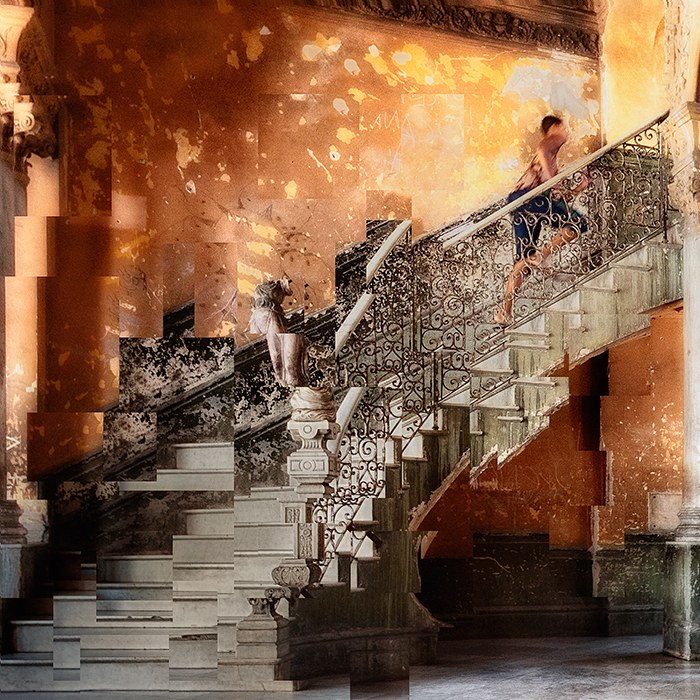
Then, a small block of the image was selected, put on a separate layer and moved to misalign it with the rest of the image. This was done a further 27 times to create the disjointed areas in various parts of the image.
An unadjusted Viveza layer was then created. I use this frequently in my images. It has the same effect as flattened the image at this point whilst still preserving all the layers below so I can go back to them if I need to take the development of the image back to an earlier stage and work again from that point. I normally title this ‘Viveza Block’.
Further adjustments were carried out using a combination of cloning, Viveza, Darken/ Lighten Centre and Glamour Glow. These were following by a bleach bypass layer, removing the effect in places using a layer mask, to give the image an ‘edginess’. Further adjustments to the lighting were made with Viveza and curves before sharpening the image with High Pass Filter.
Nikon D700, 28-300mm lens at 28mm, ISO 3200, f/11, 1/60sec
This round’s discussion is now closed!
6 comments posted
(Groups 16 & 68)
David, the thing I find most gratifying about your August submission is your description. I have tremendous respect for your photographic expertise, so it's great to read your thought process and the workflow you use to achieve your vision. Over the time that we've both been Group 5 members, I've discovered a numerous new post processing approaches and have learned to use several new filters and Photoshop tools. Thank you for this. It's invaluable.
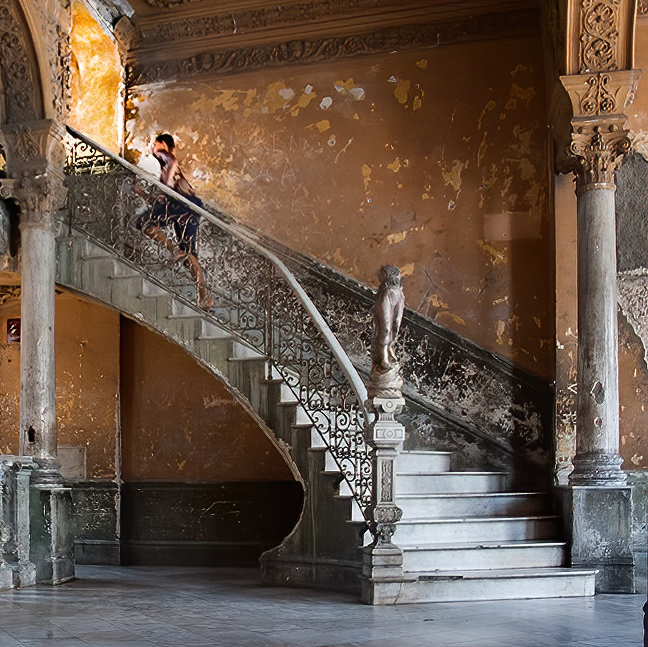
Your comment, "I then used Nik Viveza to change the lighting to shift the emphasis to the top left hand corner of the image in an attempt to create a feeling that he was escaping from the darkness into the light. " made me wonder if I could use your original image and further highlight the boy running toward the light. (I didn't try to show that he was escaping from a disaster.) Most of my edits were done in Photoshop's Camera Raw adjustment brush. It's a completely different image than yours. Here's what I came up with. Thoughts?
Posted: 08/01/2019 09:23:13
(Group 32)